3.1 KiB
3.1 KiB
Field testing guide
To do
⚠️ WARNING : This bandage was designed based on existing israeli bandages, however it wasn't certified as a medical device and should thus be used based on your own jugment. ⚠️
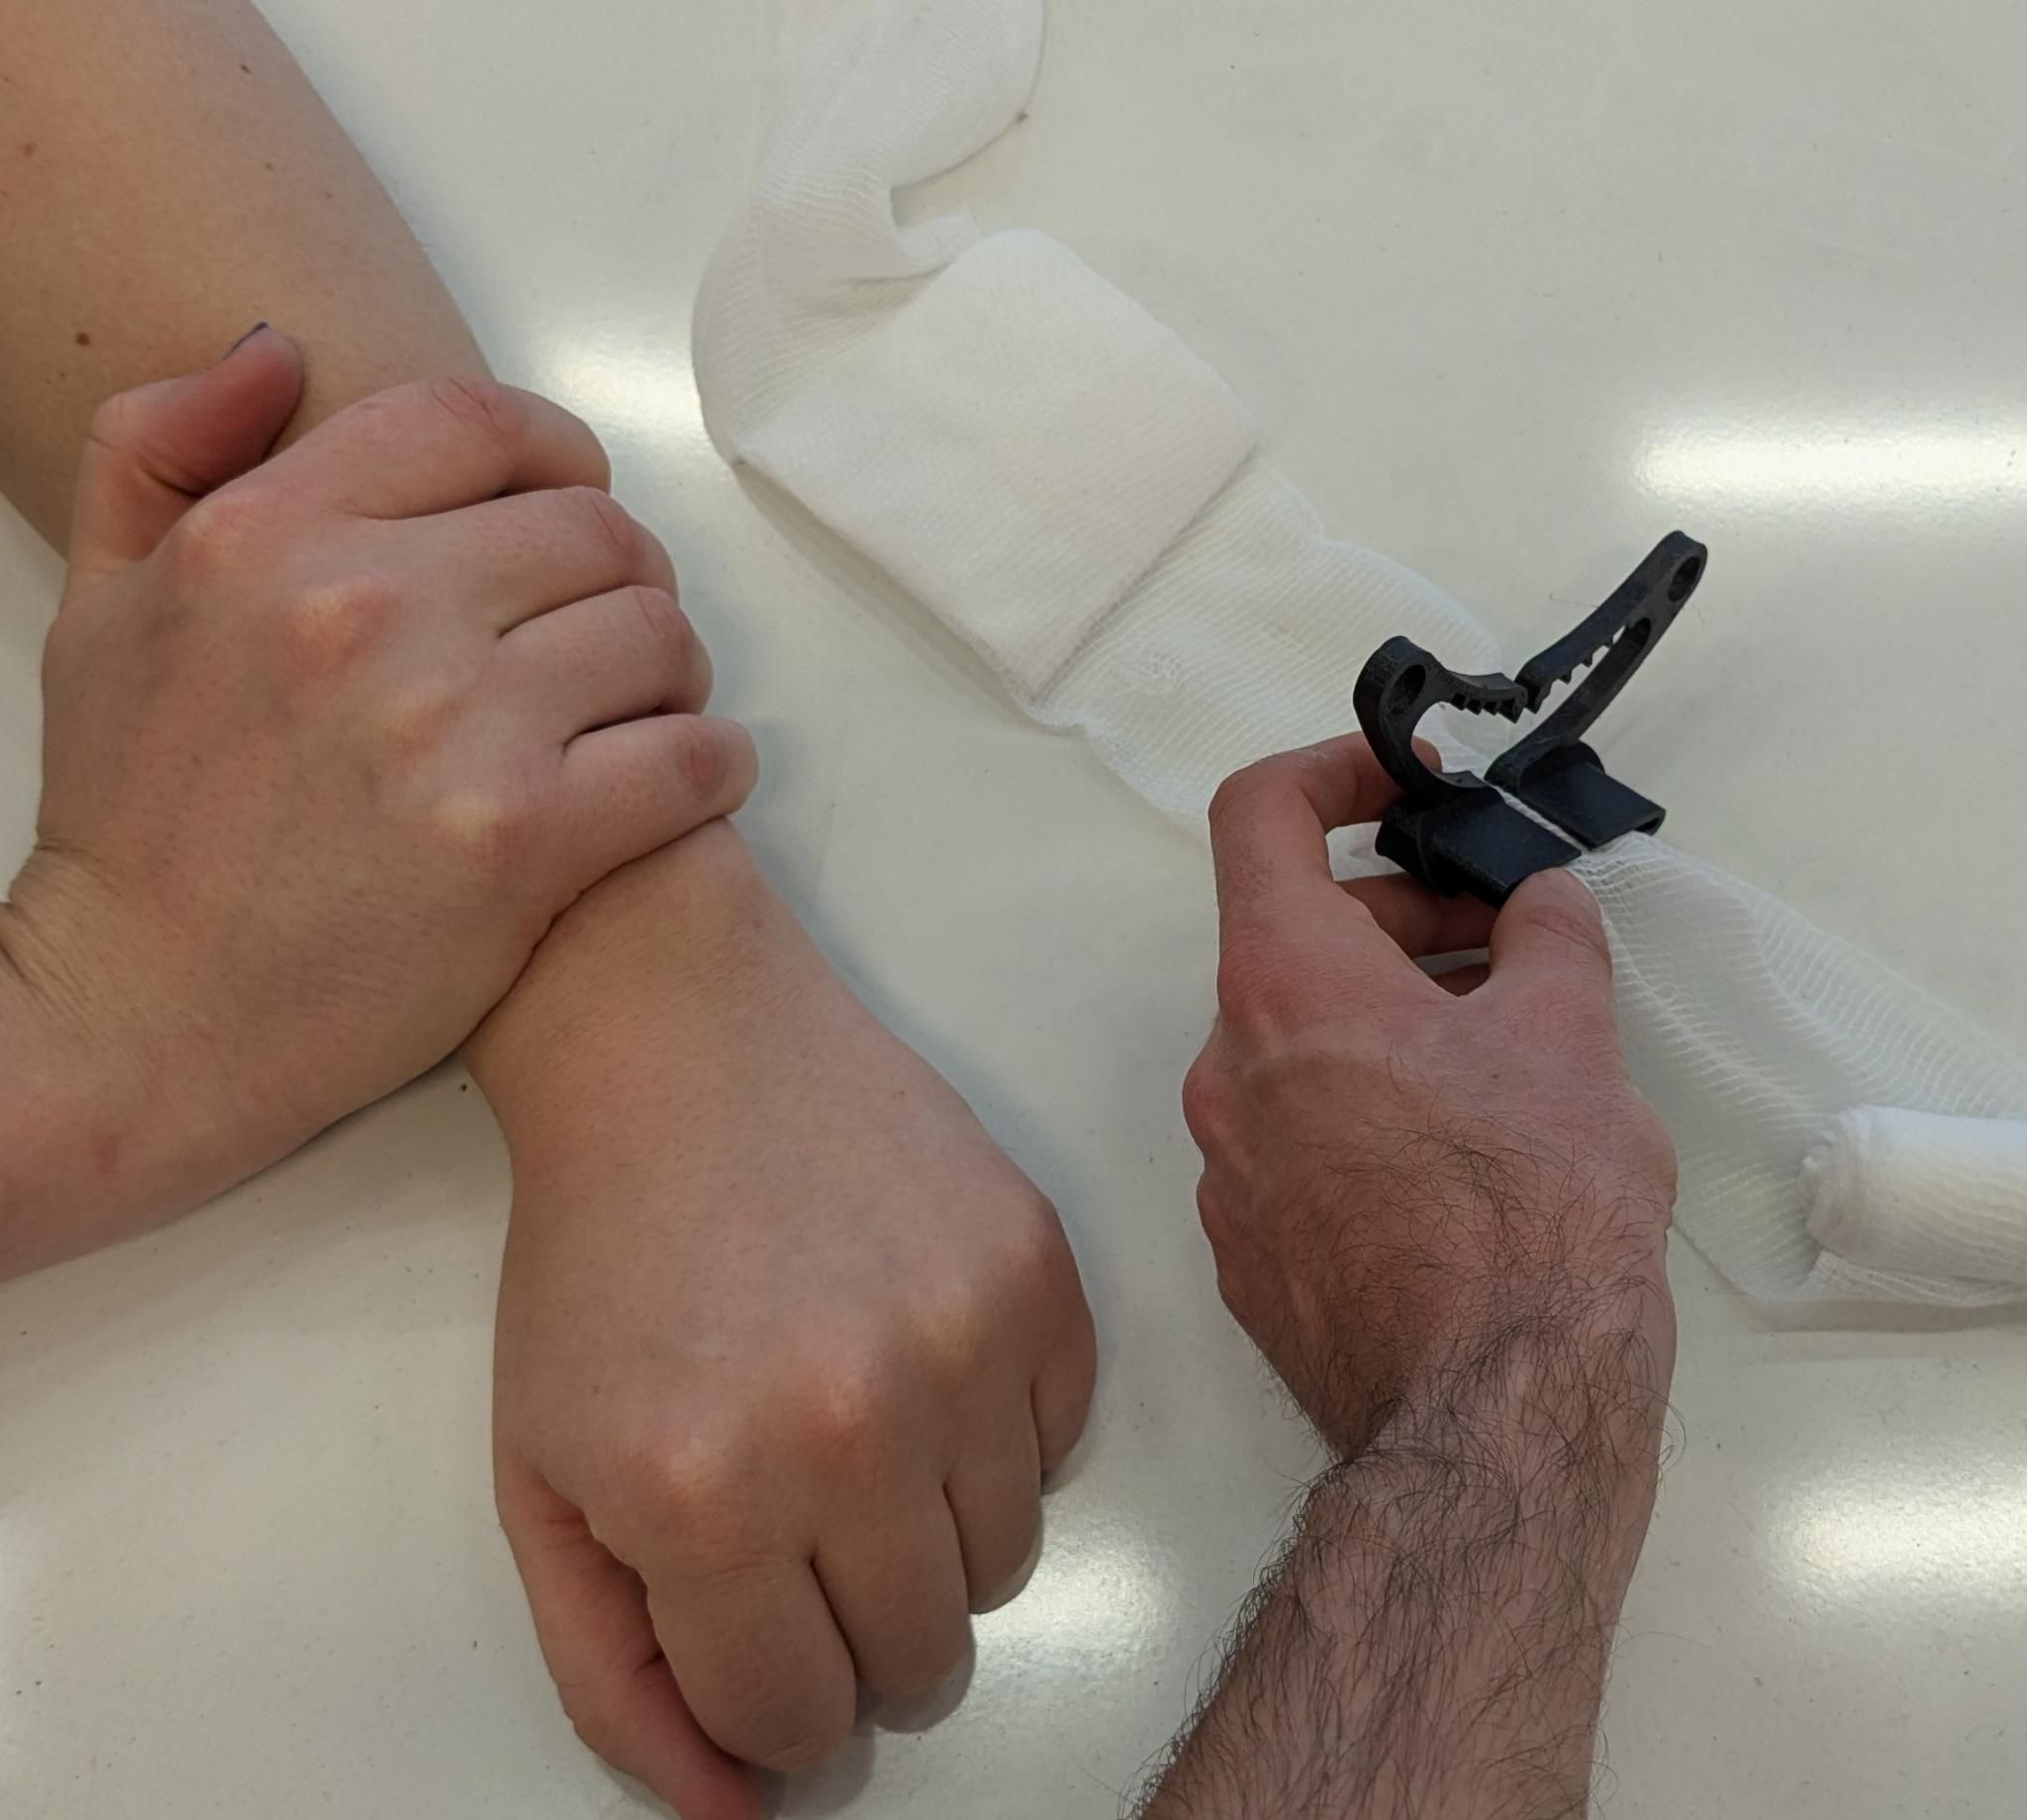 Step 1.a : Clip the lever on the compressive bandage, while holding pressure on the victim's wound (if they are conscious they can apply pressure themself). Step 1.b (alternative) : Apply the bandage to the wound and do a single turn around the victim's limb. (using velcro) : if you are using Velcro, you can attach the lever directly over the wound now. |
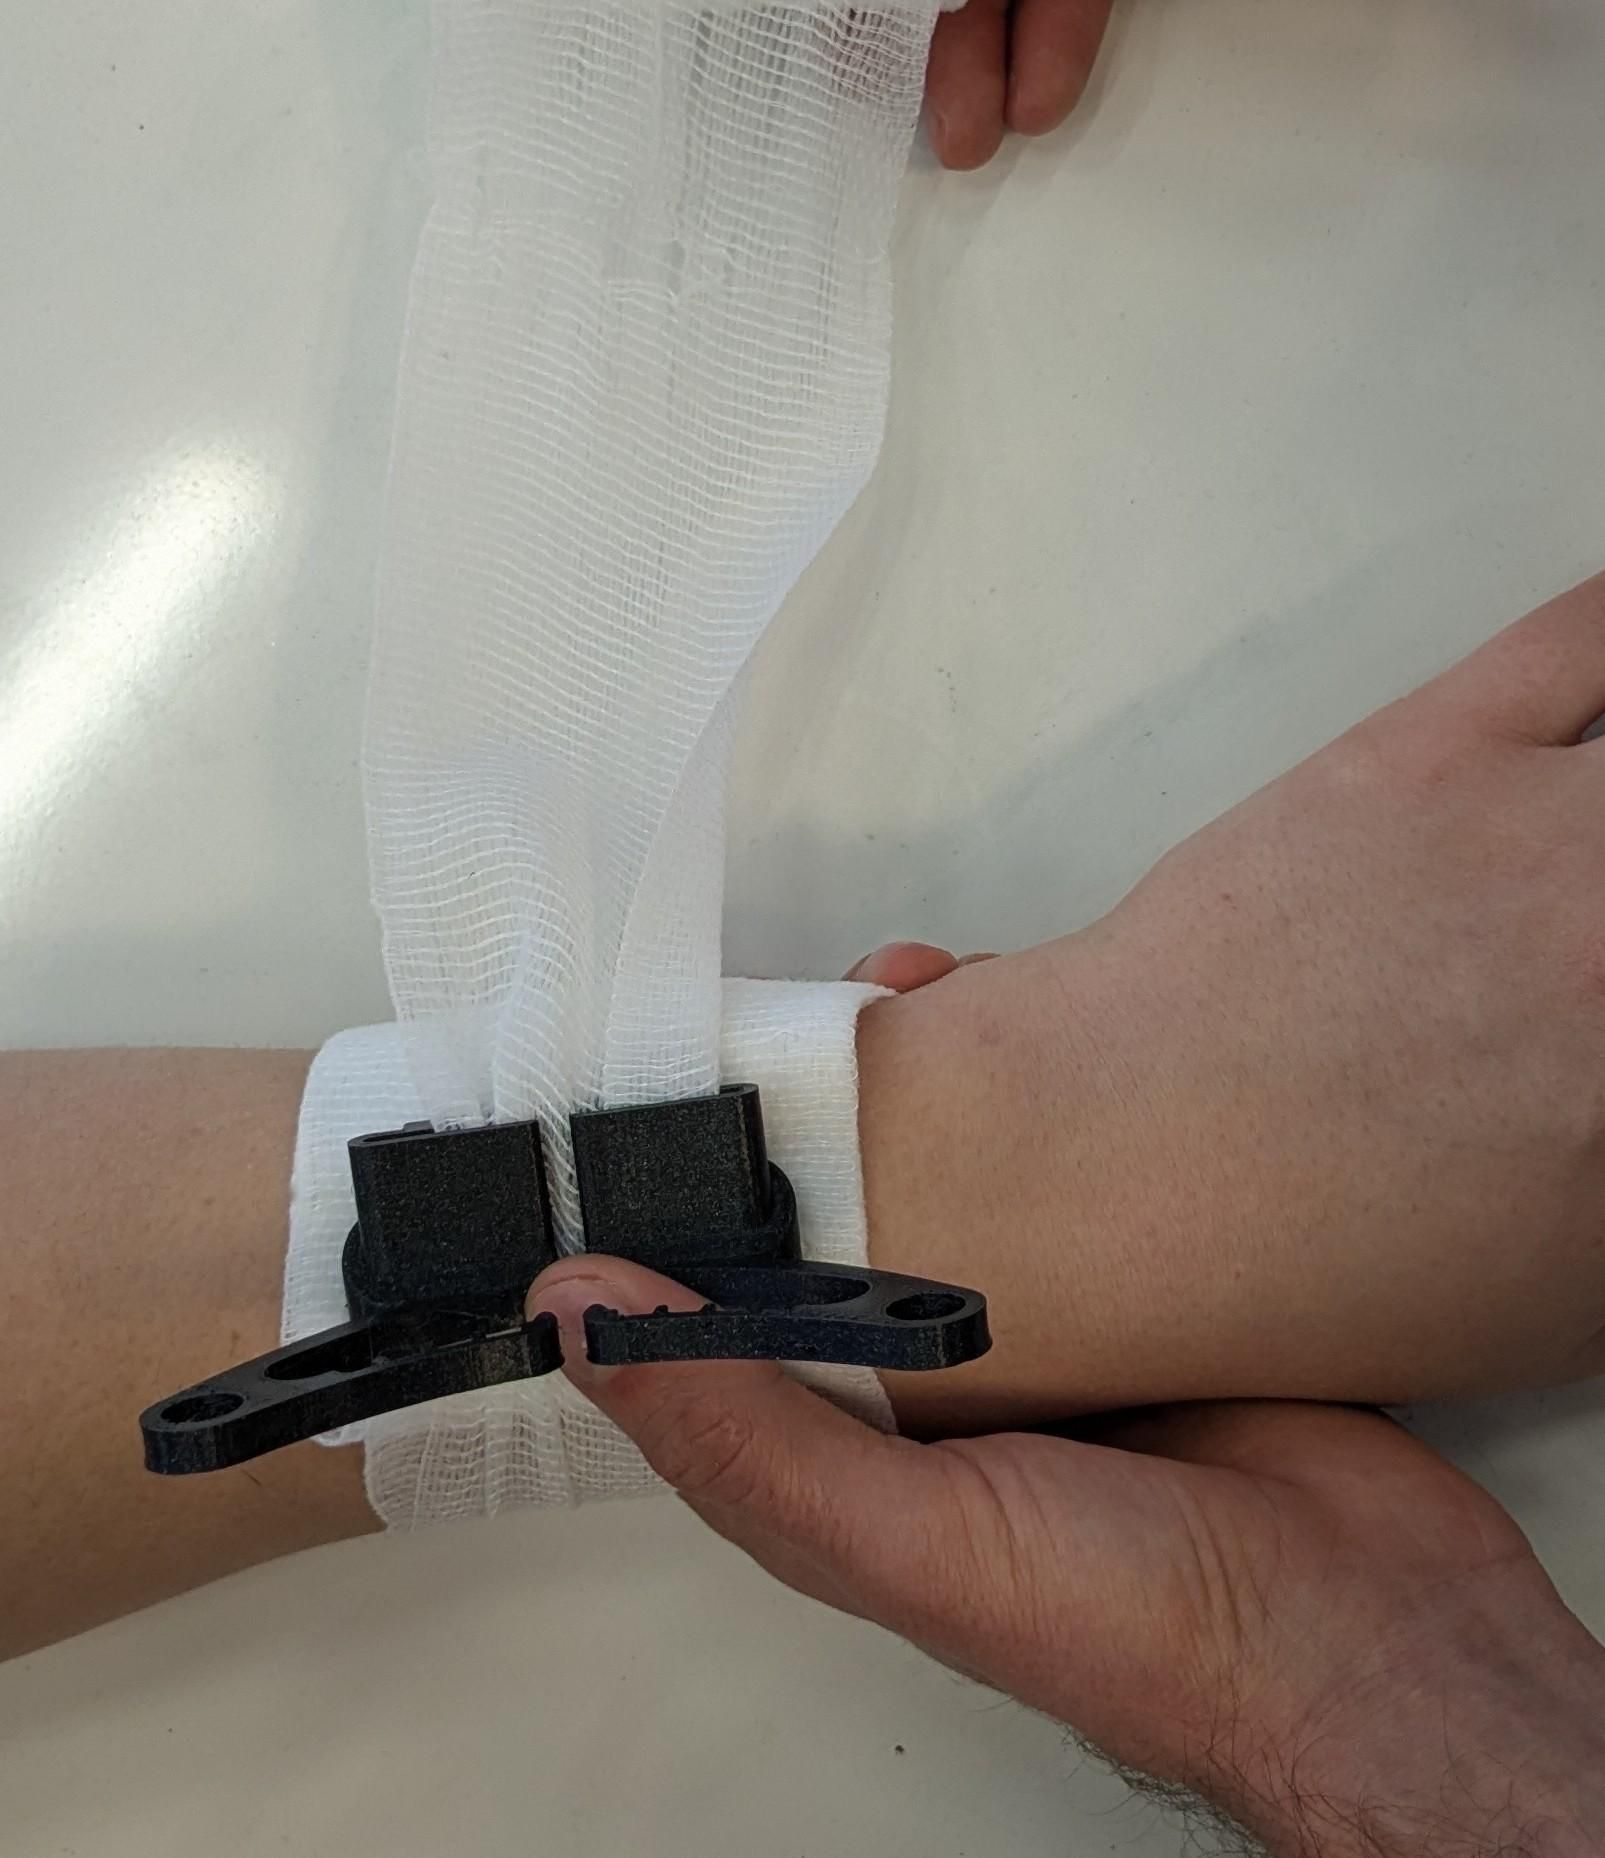 Step 2.a : Do a single turn around the victim's limb and slide the lever over the wound. Step 2.b (alternative) : Put the lever directly over the wound before finishing the first turn and pass the bandage through the inner passage. |
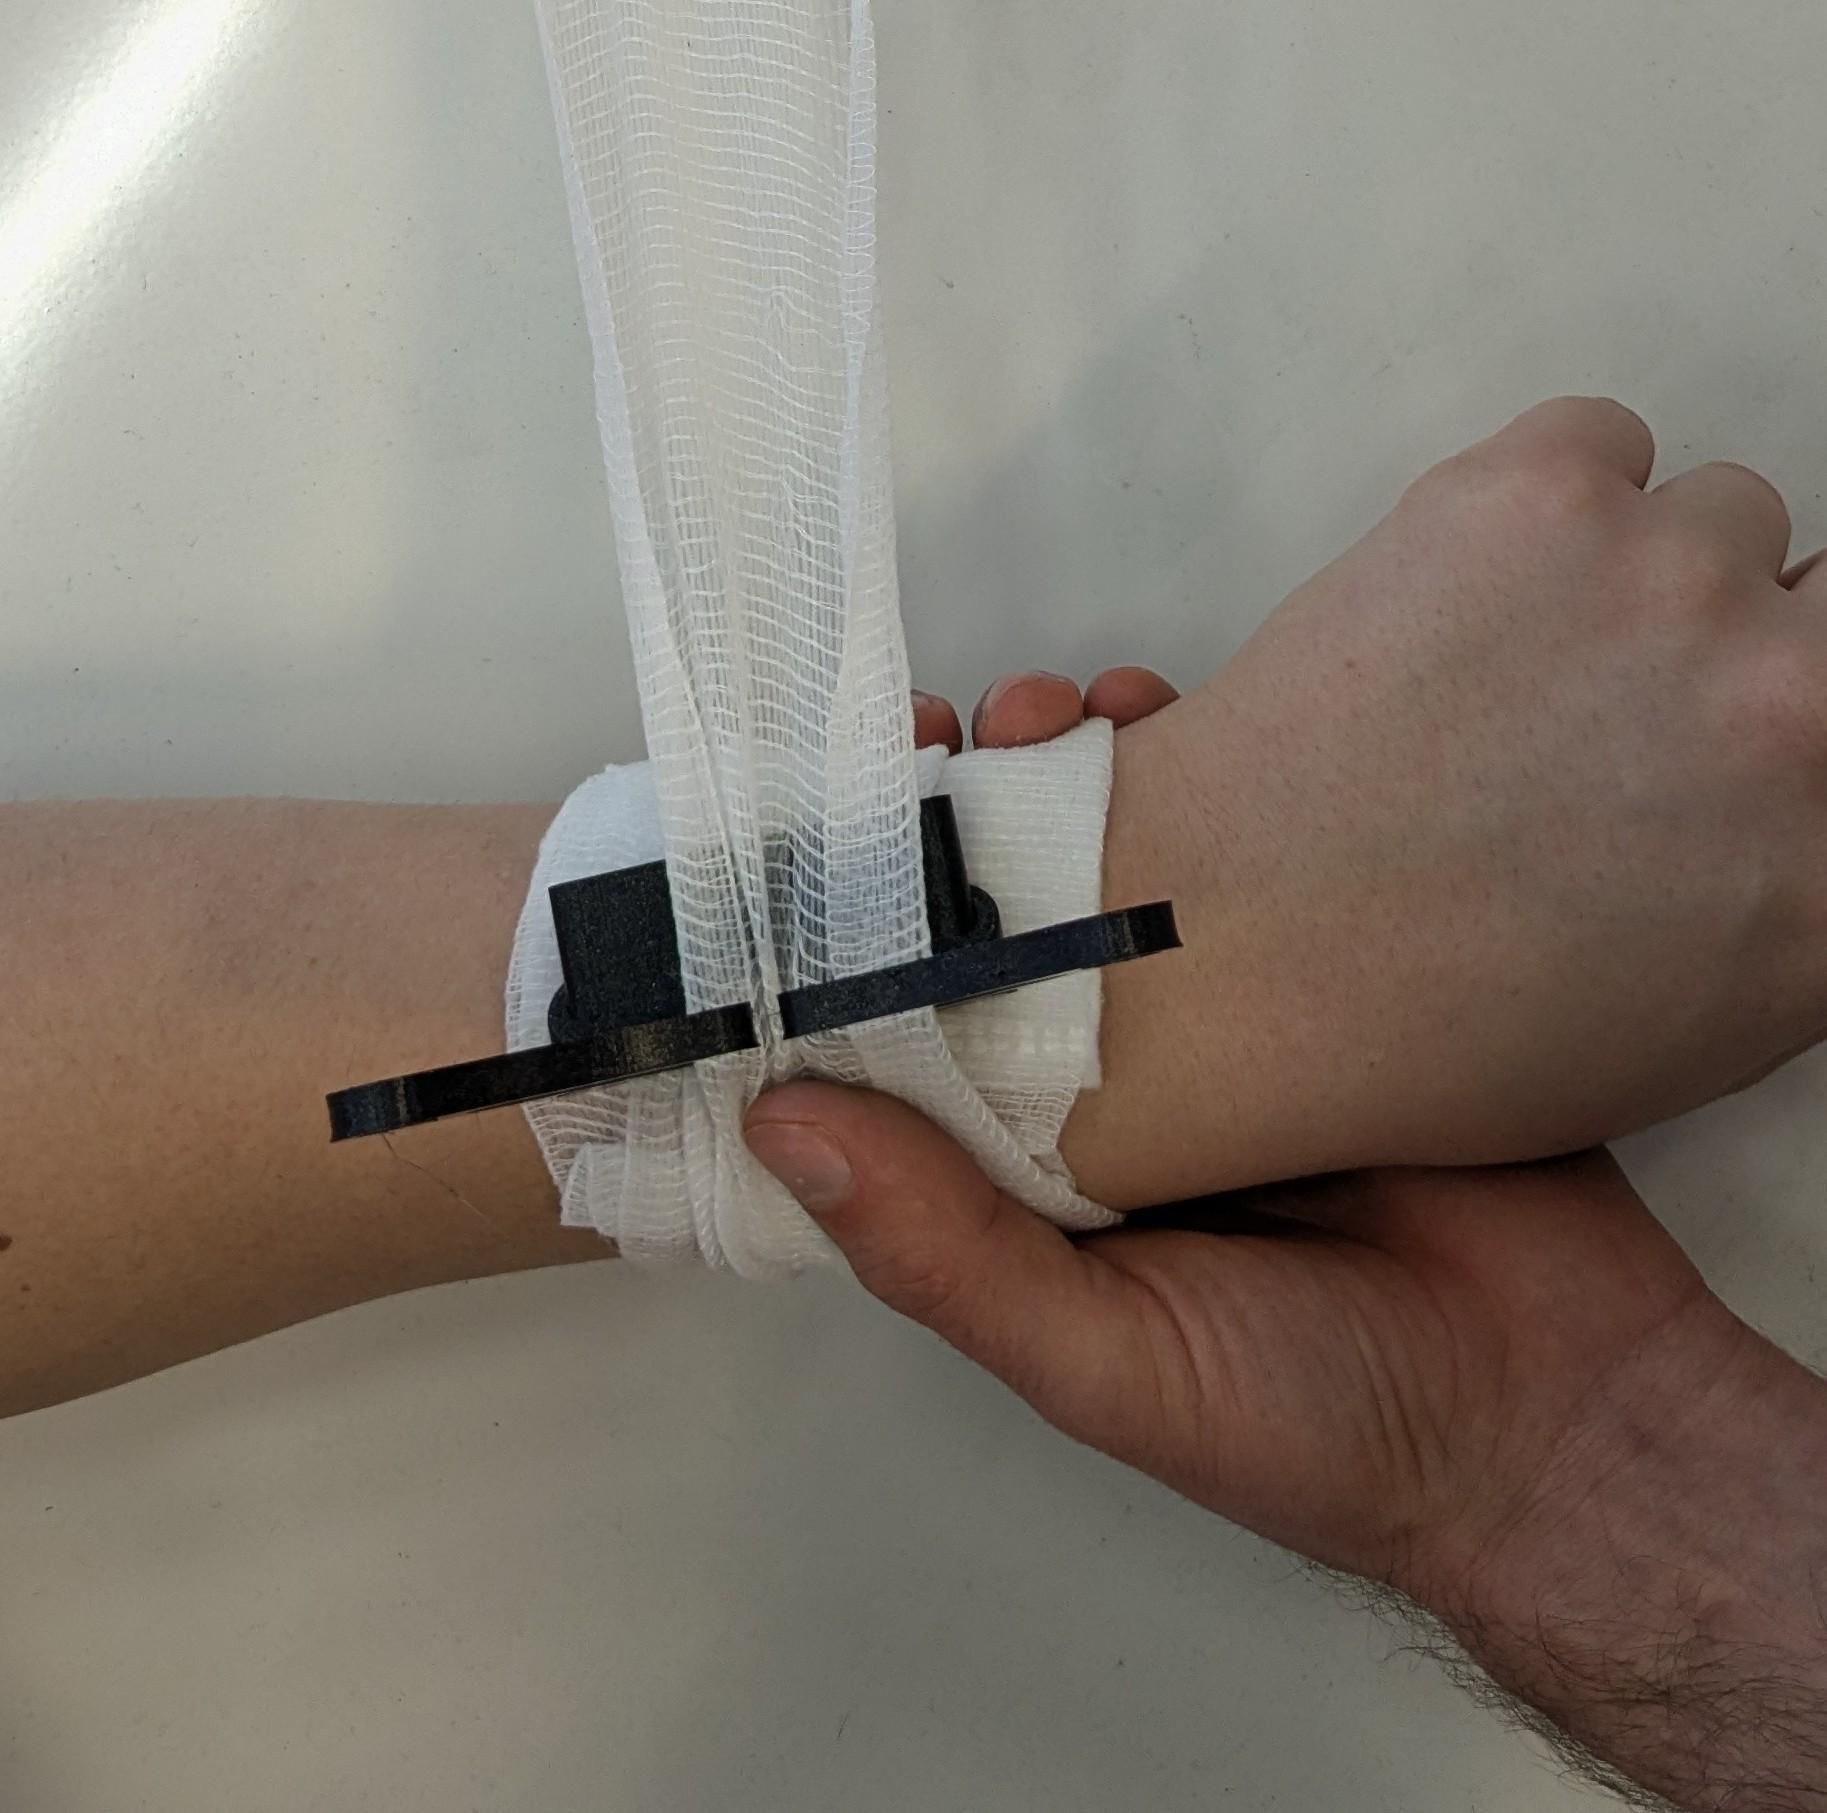 Step 3 : Do another turn around the limb and pass through the normal lever passage. |
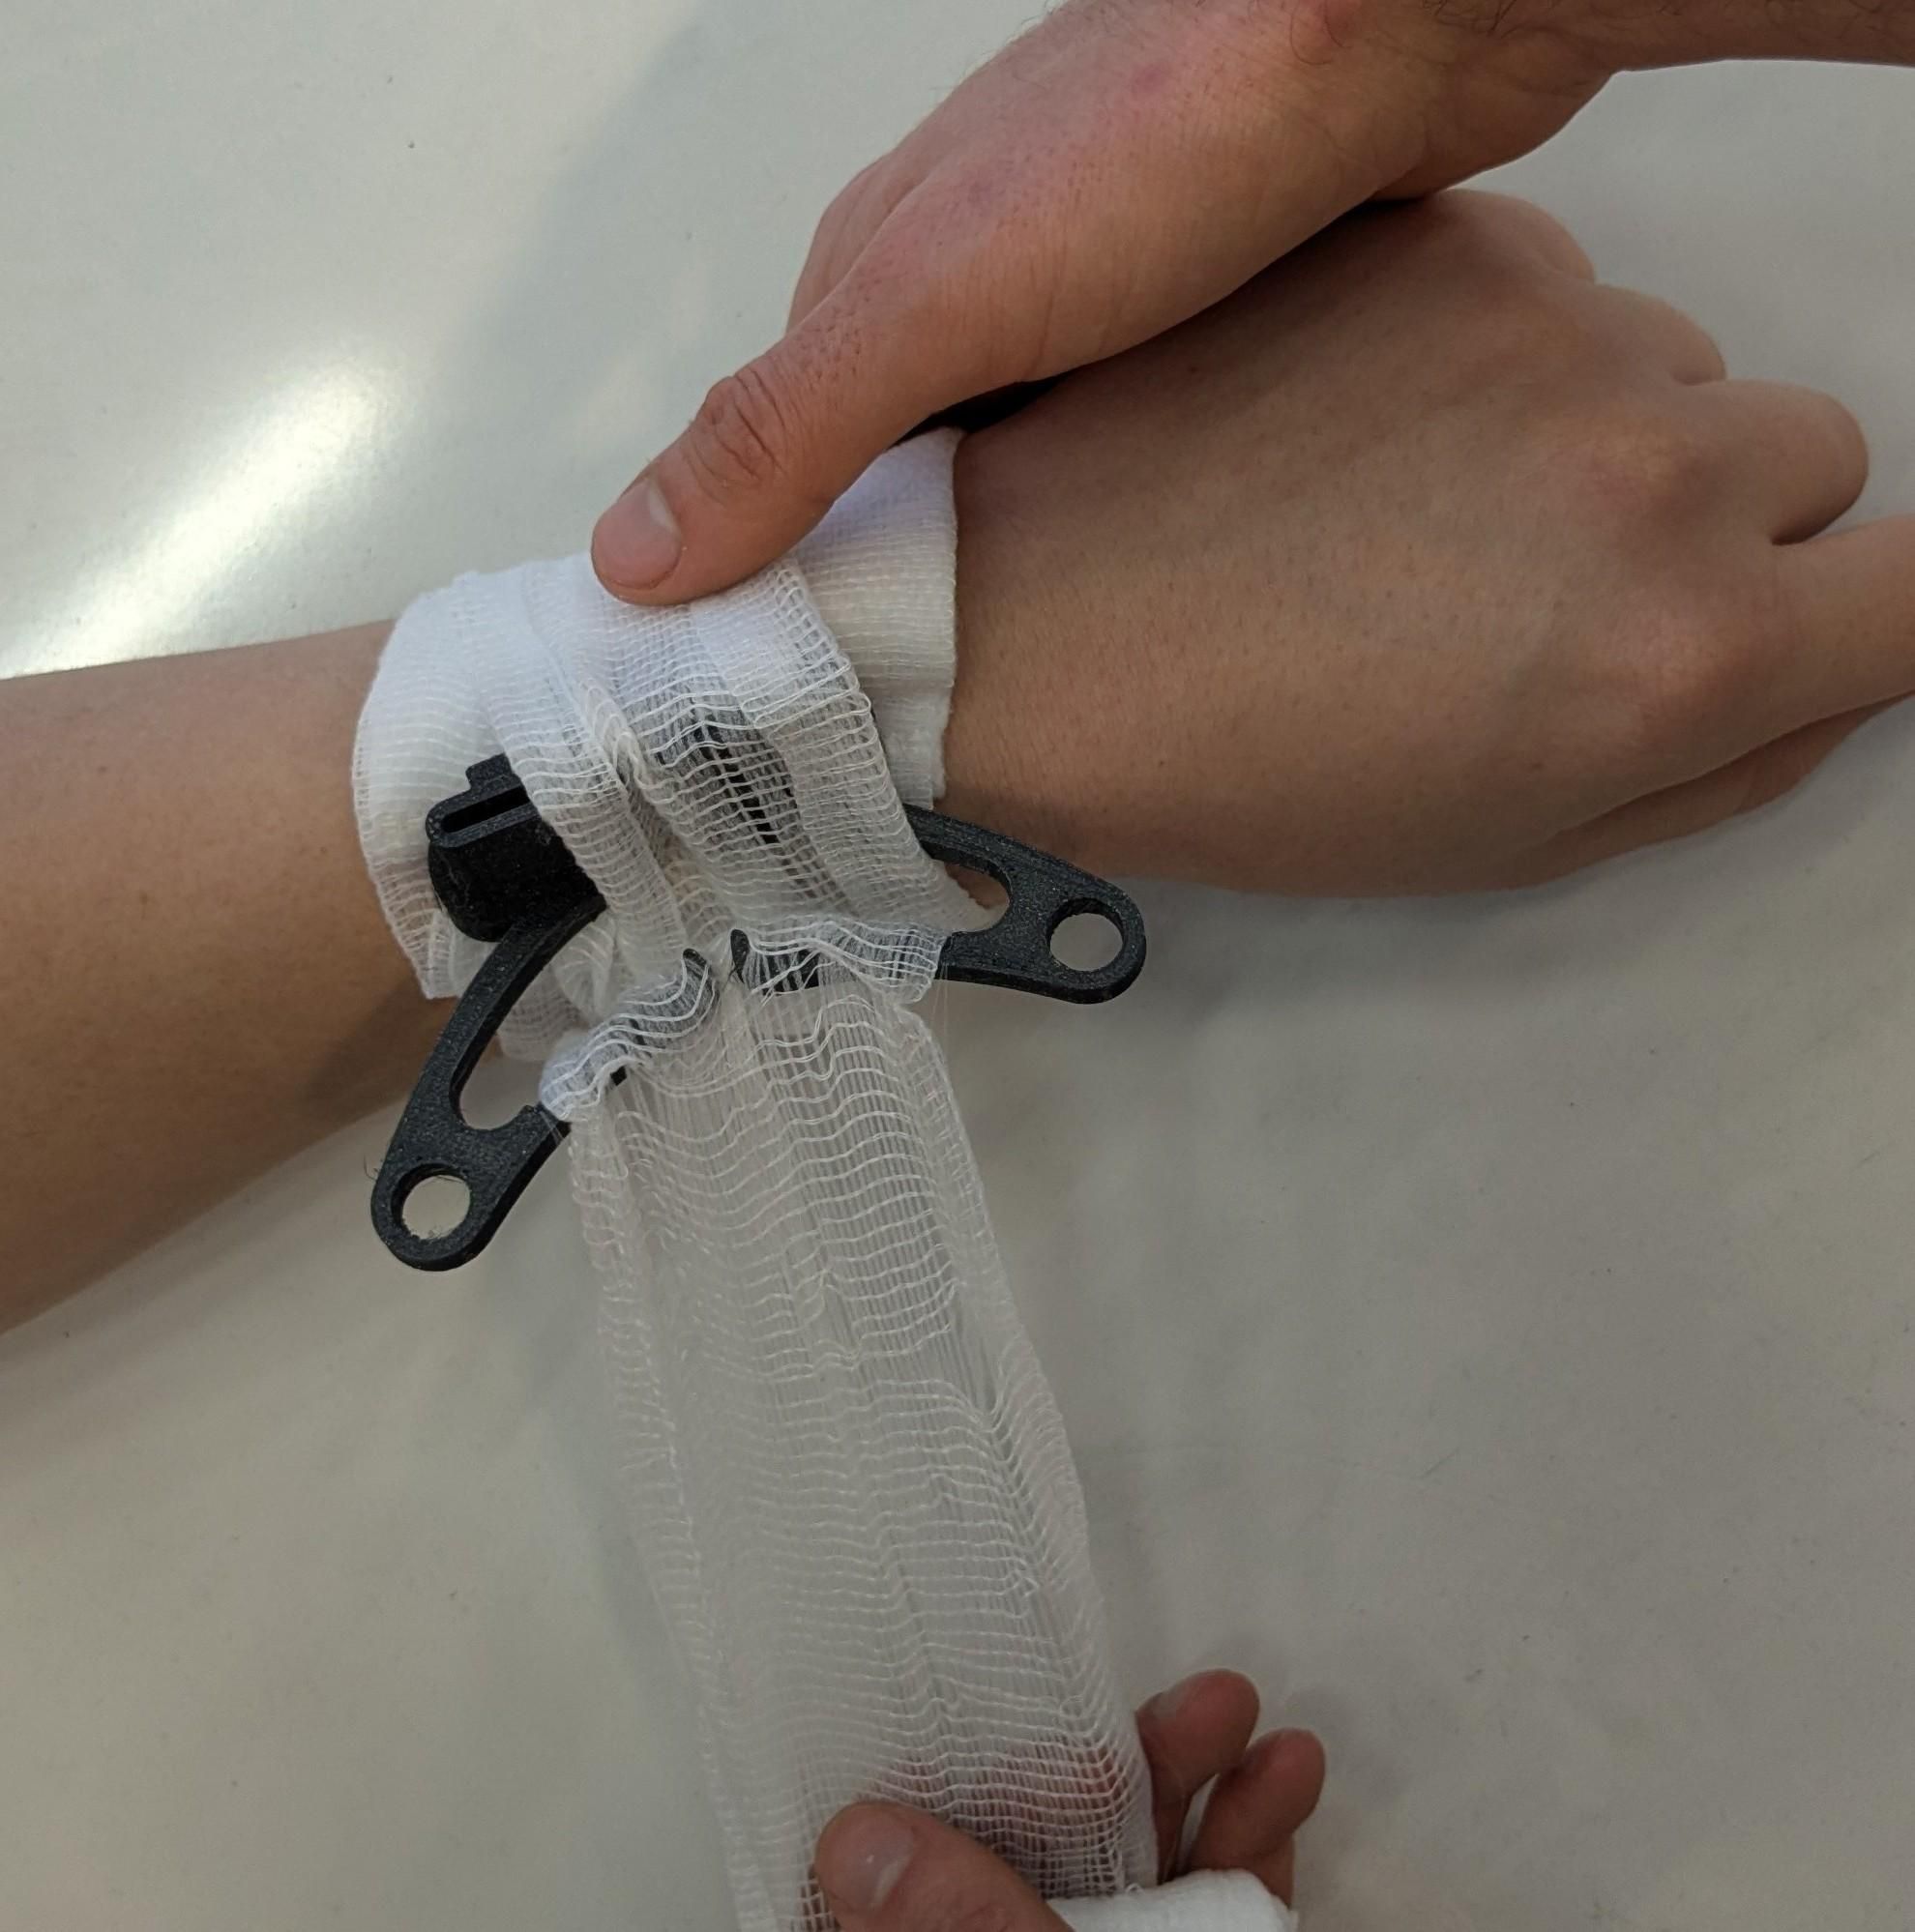 Step 4 : You can do an additional turn, and then you have to start widing the other way around the limb to flip the lever back to generate pressure. |
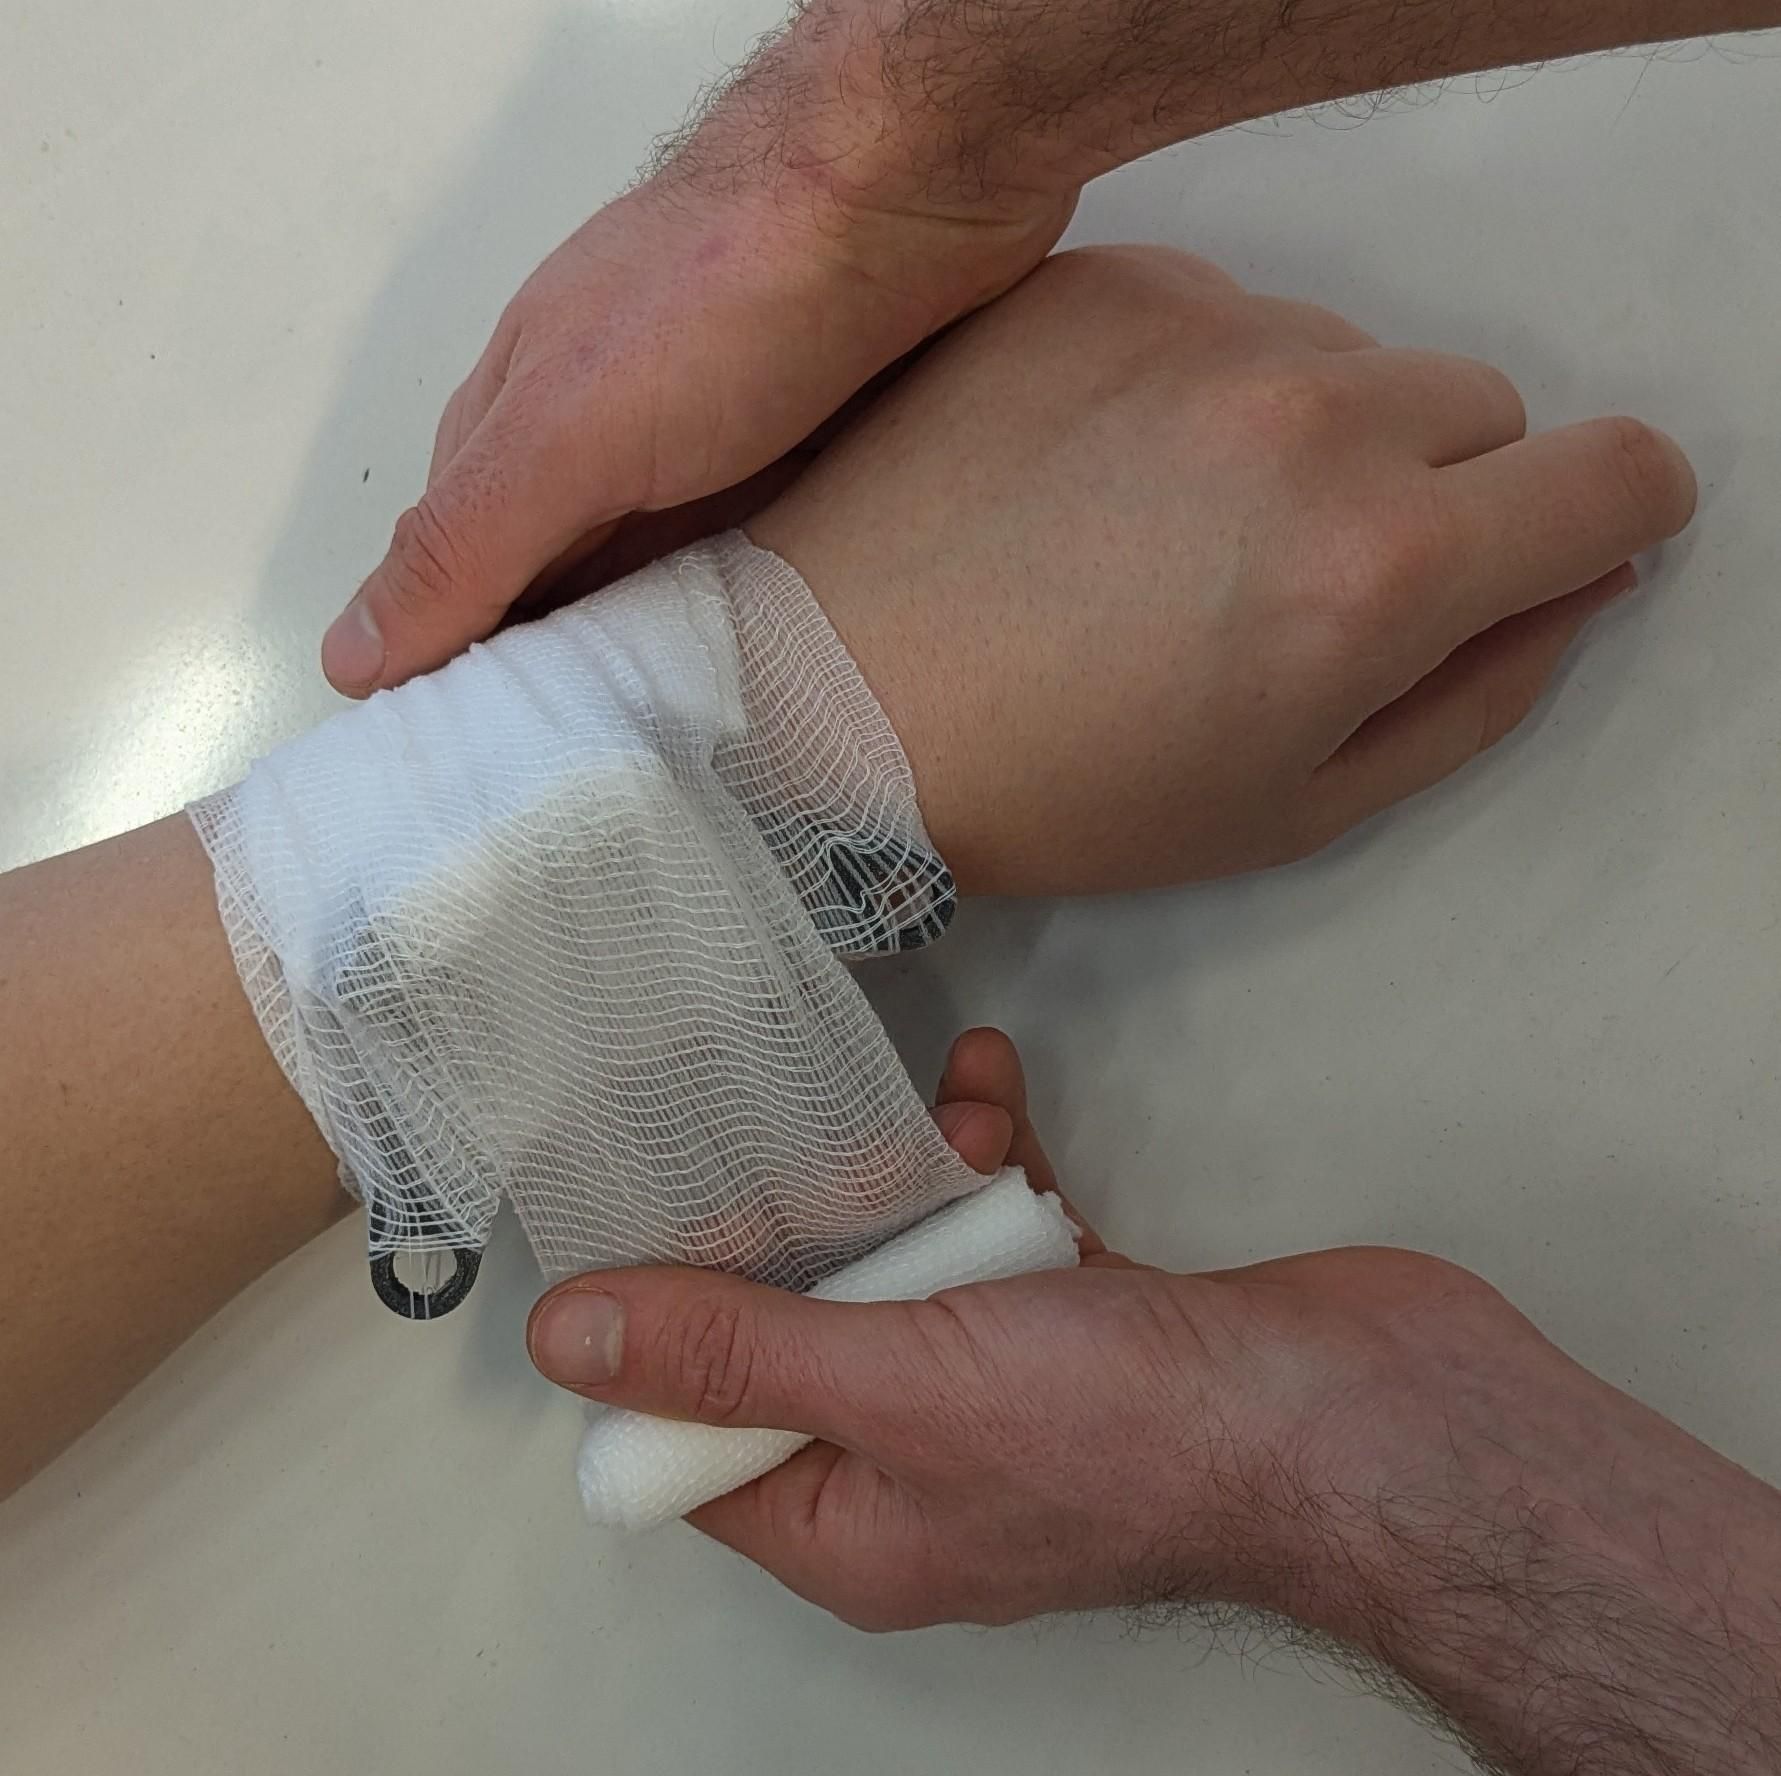 Step 5 : Keep winding around the limb to firmly hold the lever into place. |
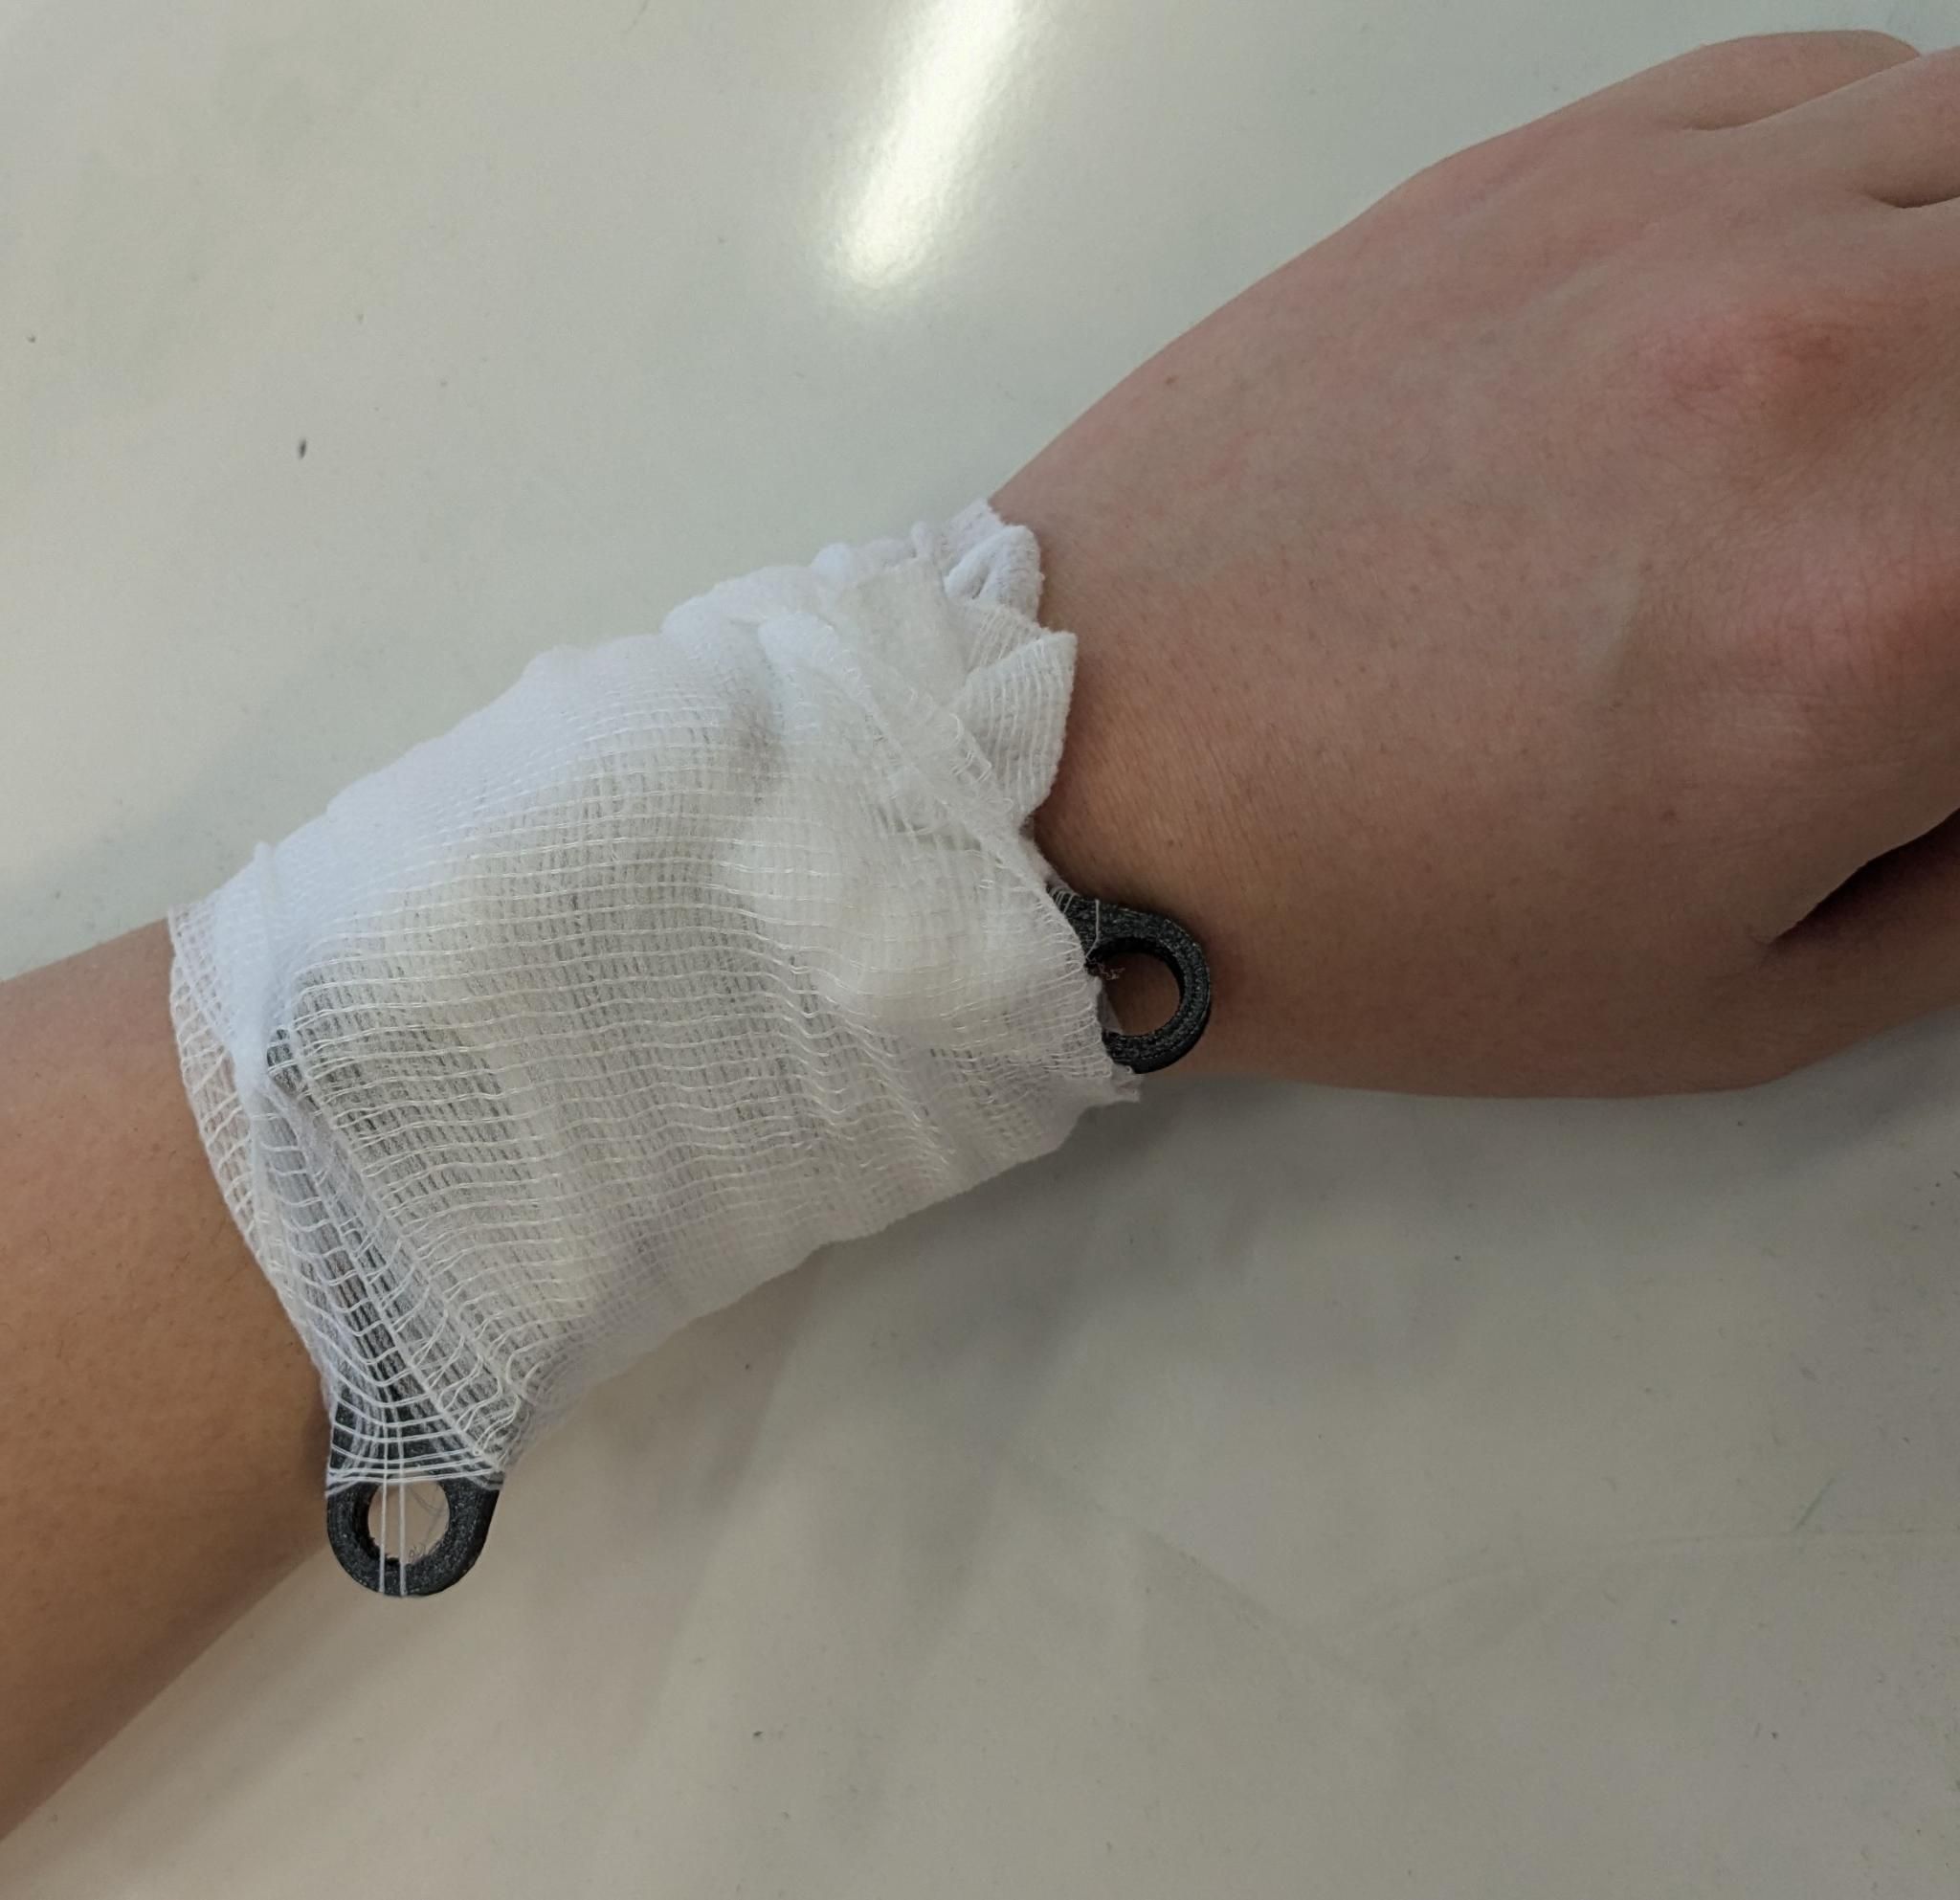 Step 6 : Once you have finished you can simply fix the end of the bandage into a tight part of the bandage to hold it in place. |